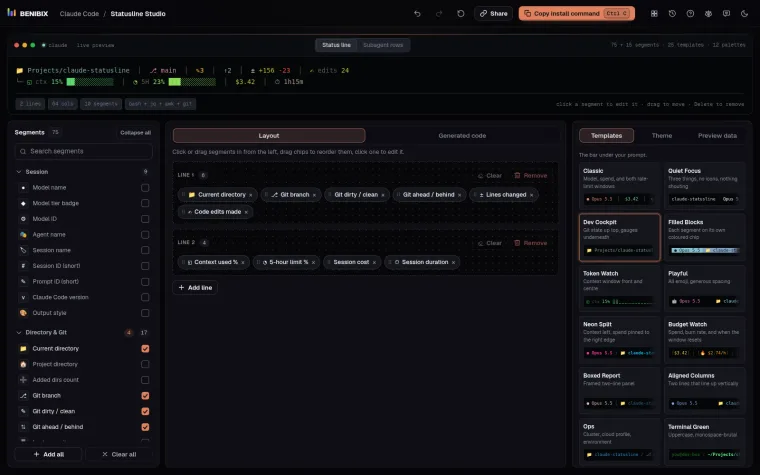
Short answer: you do not have to write the status line script by hand. Pick the parts you want (model, cost, context, rate limits, Git branch), order them, choose colours, and take a script that is ready to run. One line in settings.json then points Claude Code at it.
Claude Code's status line is powerful, but the official way to get one is to write a small program: read the session's JSON from standard input, pick out the fields, add colours, print one line. That is fine for a developer with an afternoon, and a wall for everyone else.
What can the status line show?
Claude Code sends the script details about the session each time it updates the line, and the script decides what to print. Common parts:
| Part | Why it helps |
|---|---|
| Model | You see at once whether you are on the model you meant. |
| Context used | You know when to /compact before Claude starts forgetting. |
| Session cost | You notice an expensive session while it happens. |
| 5-hour and weekly limits | You see how close you are before you hit one. |
| Git branch | You do not commit to the wrong branch. |
Each has its own post: context use, rate limits and the Git branch.
How do you build one without code?
- Pick the parts in the order you want them.
- Style each one: colour, icon, separator.
- Check it against a preview with real session numbers.
- Take the script in the language your computer already has.
How do you install it?
Save the script, then point Claude Code at it in ~/.claude/settings.json:
{ "statusLine": { "type": "command", "command": "bash ~/.claude/statusline.sh" } }Start a new session and the line appears under your prompt. If it stays empty, the setup post covers the usual reason.
Where can you check this?
Where do you build it?
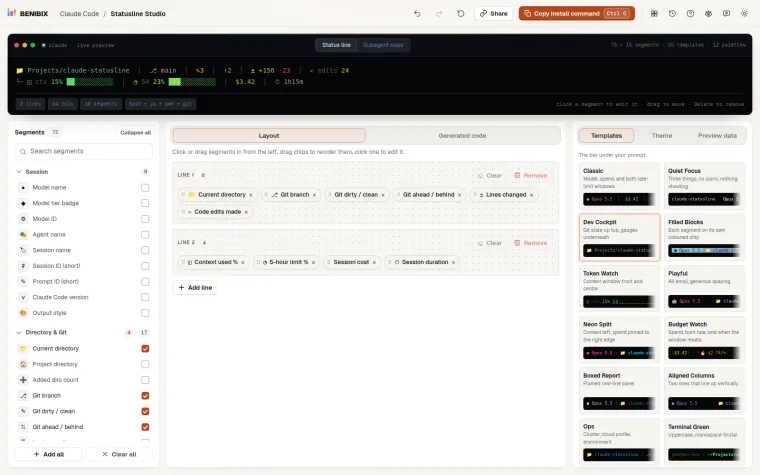
Statusline Studio is the picker from the video: 75 segments plus 15 for subagent rows, 25 ready-made templates and 12 colour palettes, with a live preview. It gives you the script in Bash, Python or Node.js and the one command that installs it.